Google Compute Engine
Prerequisites
Before proceeding, ensure you’ve completed the following:
GCP Credential: If not already configured, follow the steps in Add GCP Credential.
Deployment Resource: If you haven’t created yet, follow the steps in Automatic Deployment Guide.
Configuring Your Deployment
Once your GCE deployment resource is ready, follow these steps:
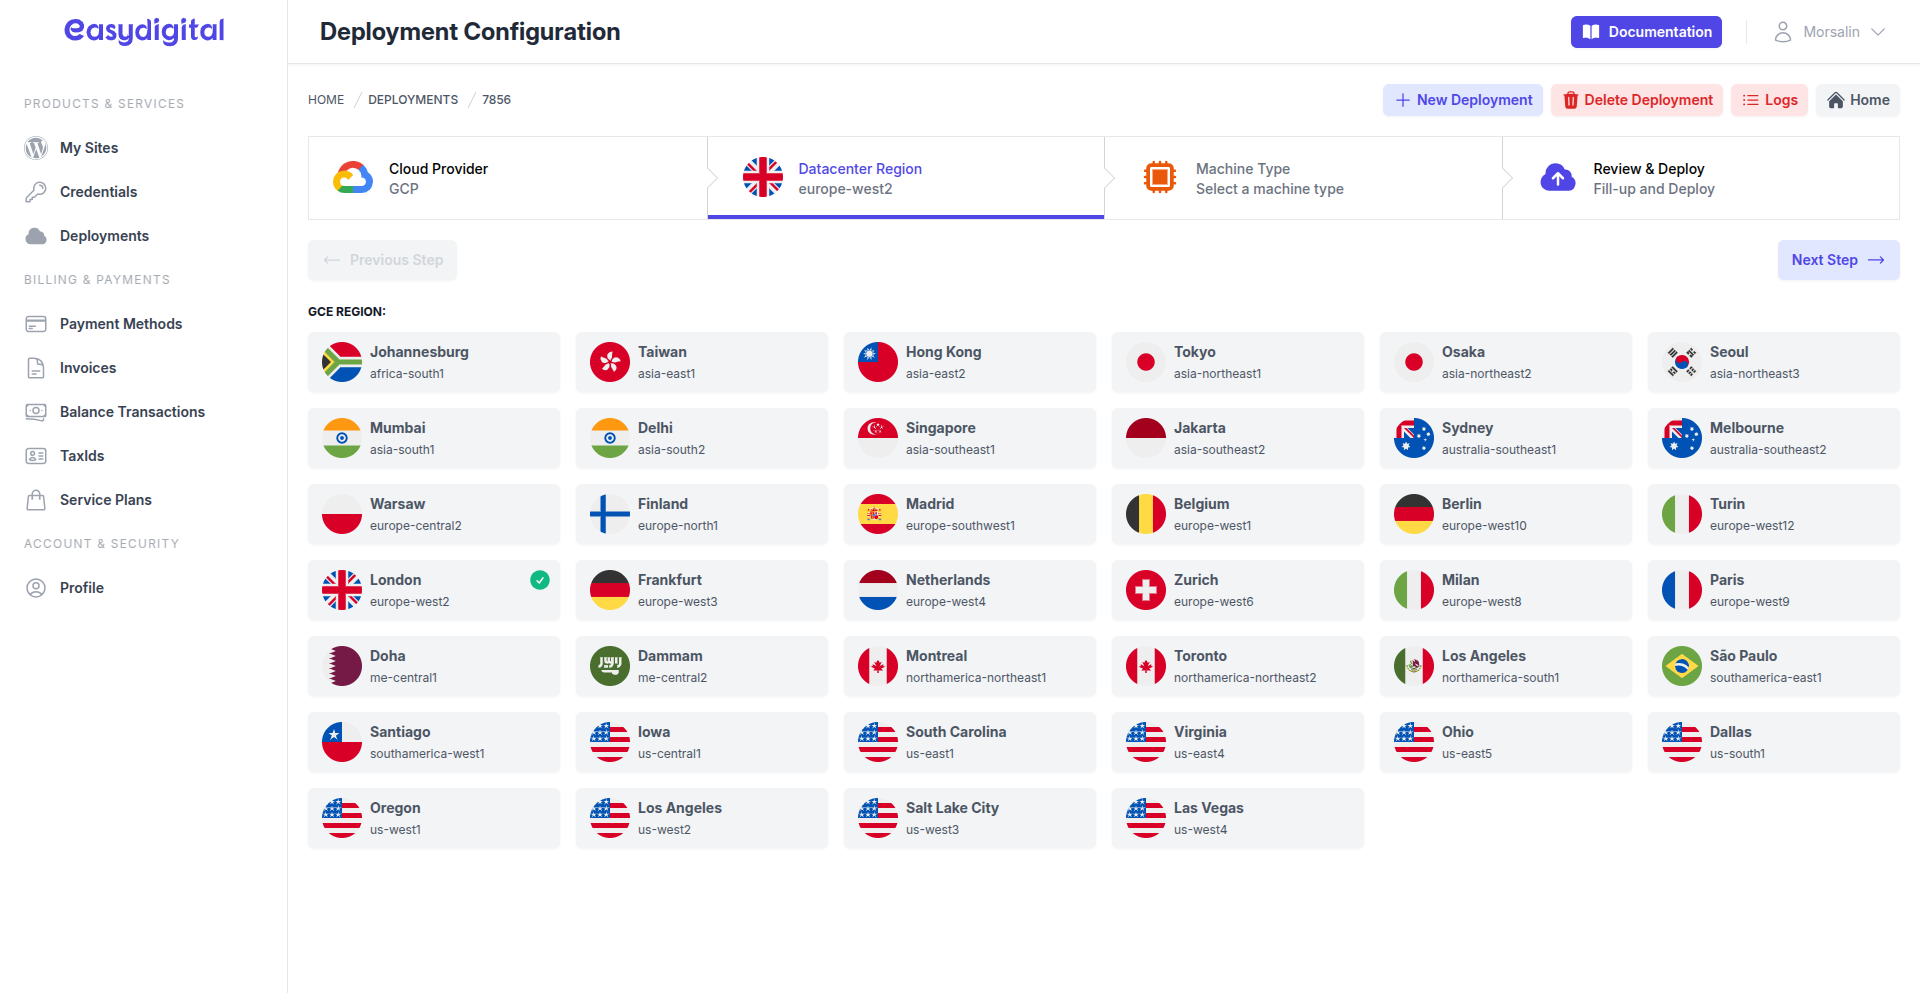
1. Select a Datacenter Region
Choose the datacenter region for your deployment.
 |
|---|
Click Next Step below the progress section to continue.
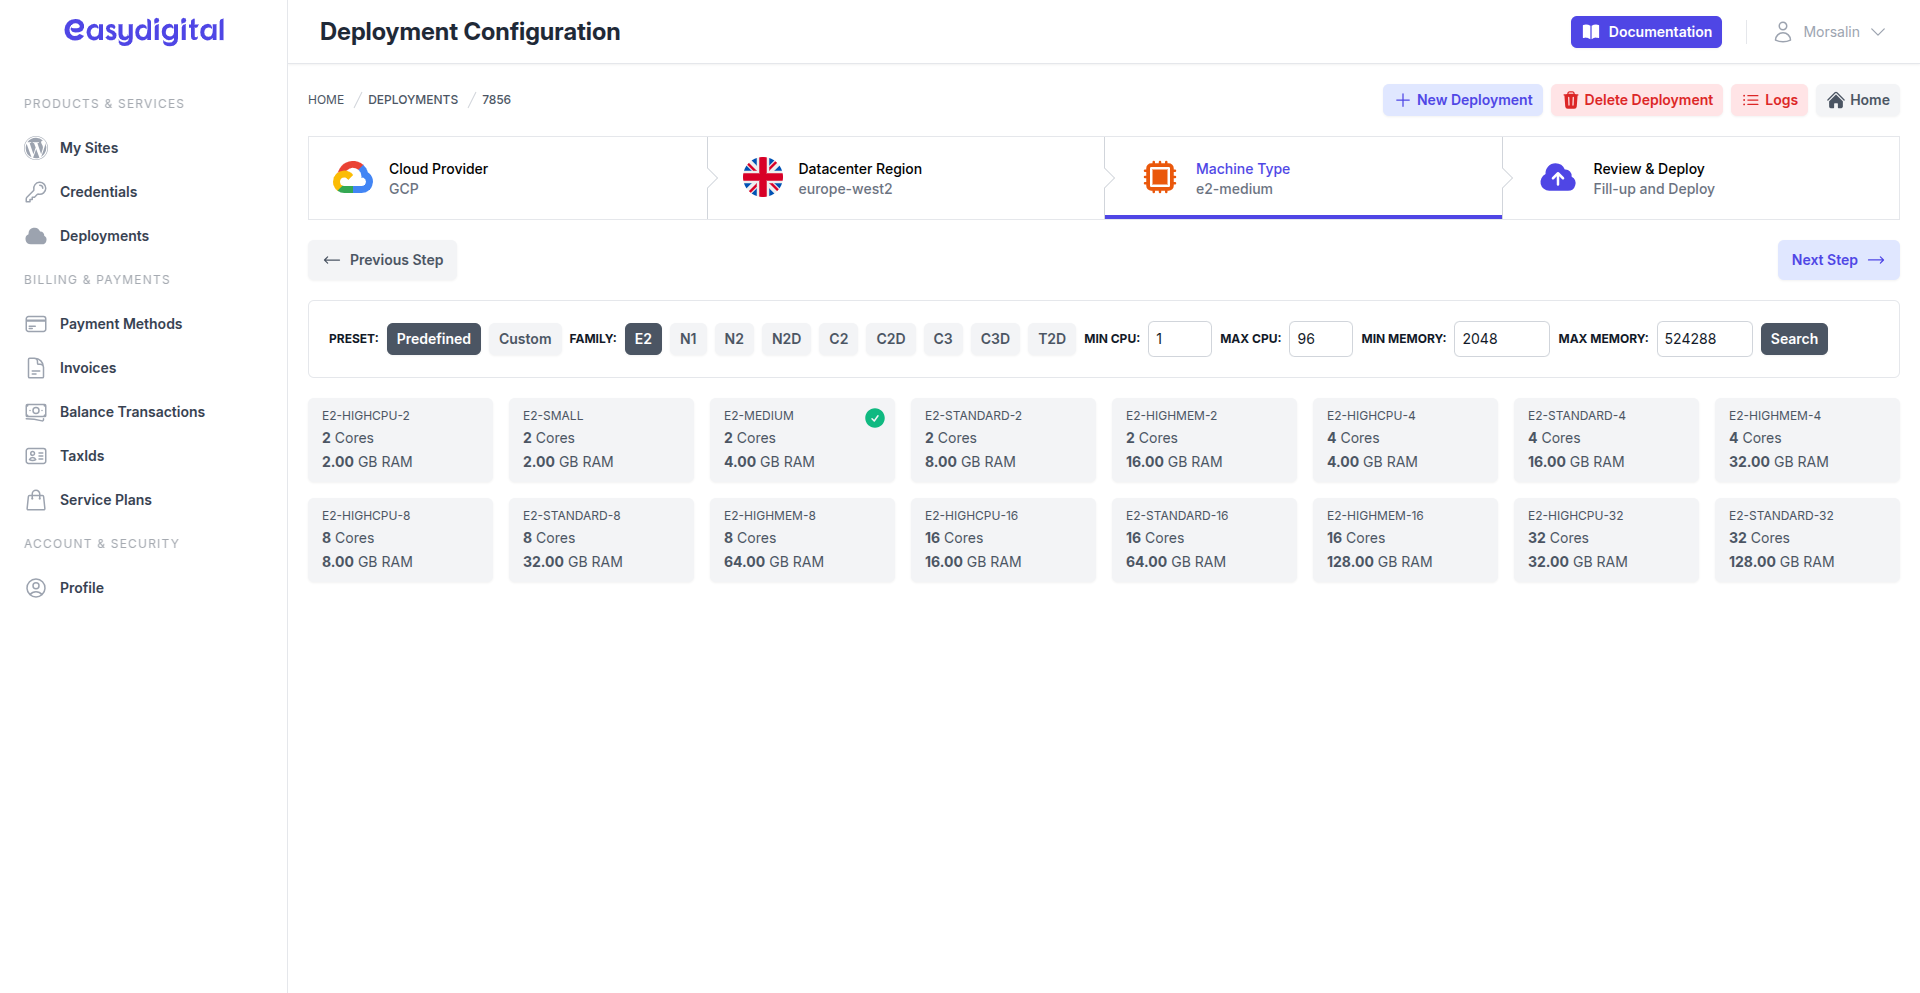
2. Select a Predefined or Custom Machine Type
Pick a machine type that aligns with your site's workload.
 |
|---|
Click Next Step to proceed.
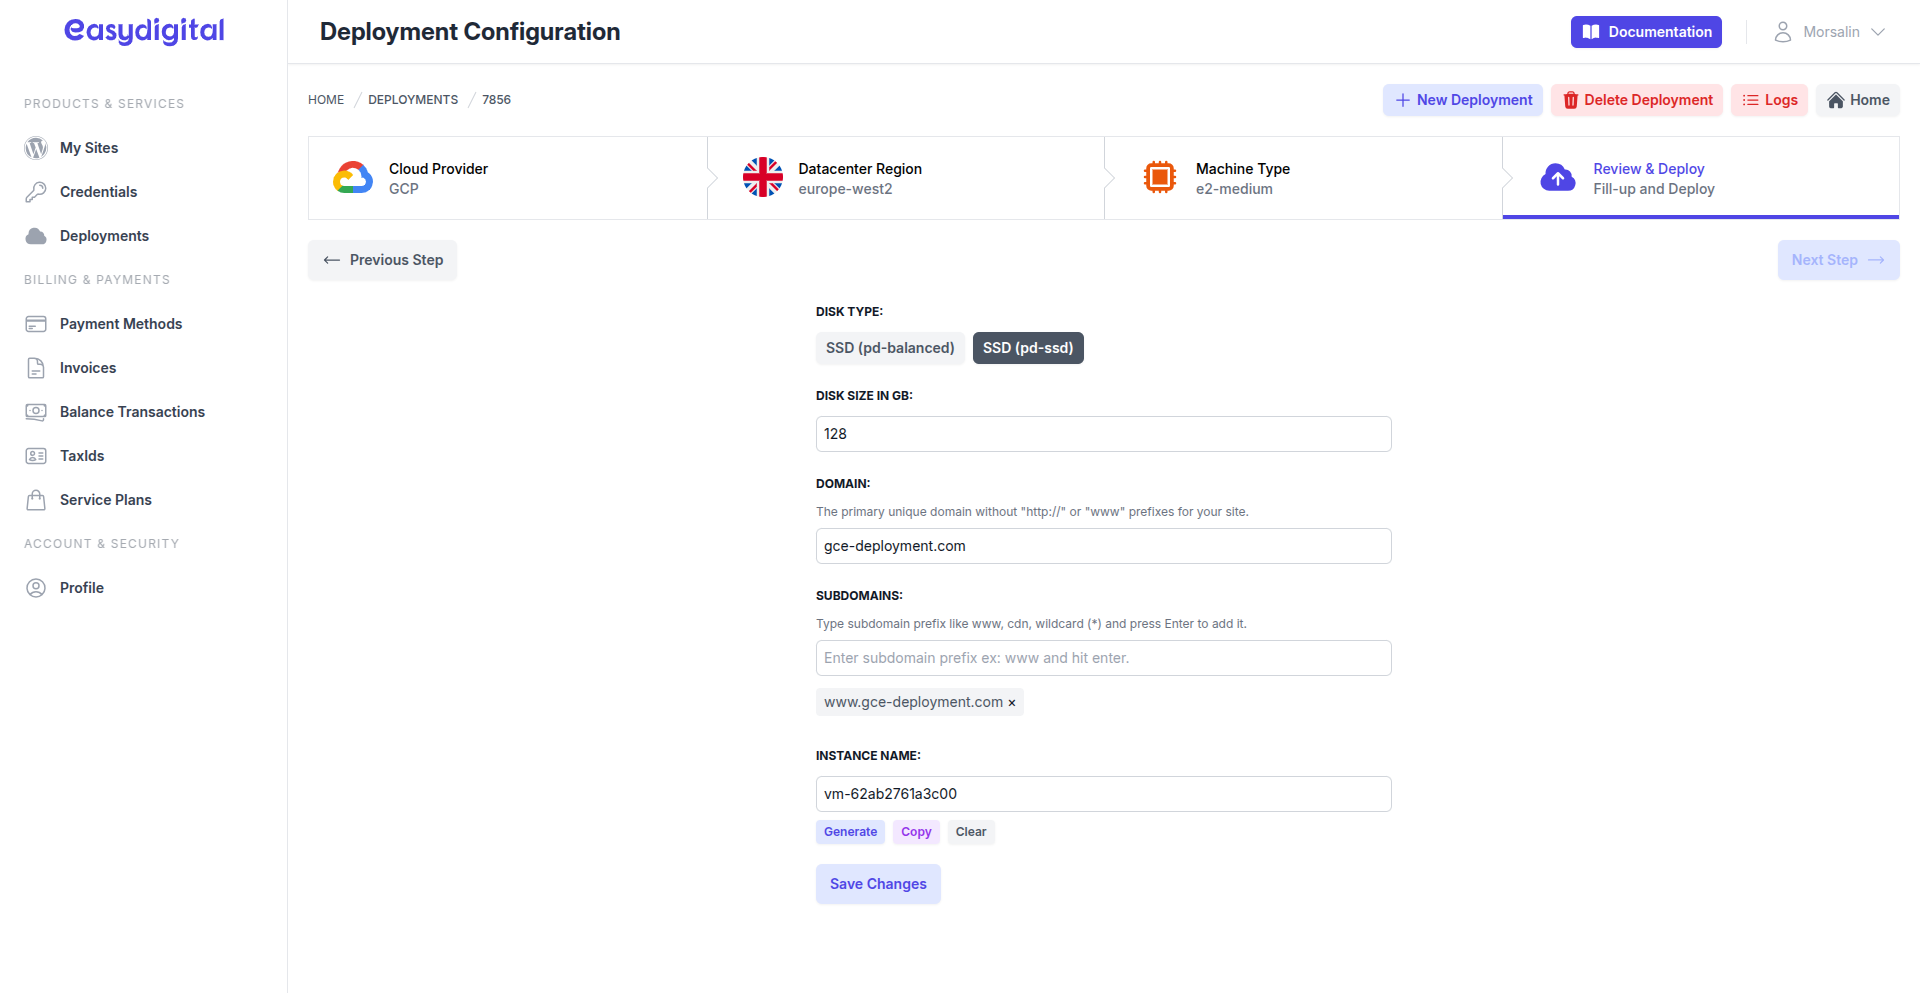
3. Input Deployment Details
In the final step, provide or adjust the following fields:
 |
|---|
Field | Description | Type |
|---|---|---|
Disk Type | Select Balanced Persistent Disk (pd-balanced) or SSD Performance Disk (pd-ssd) | String |
Disk Size in GB | At least 16 GB and recommended 32 Minimum | String |
Domain | Enter the Domain Name for your site. | String |
Subdomains | Add Subdomains (e.g., "www" or wildcard "*") by typing and pressing enter. | Array (Optional) |
GCE Instance Name | Provide a unique instance name (e.g., "vm-62a9d96c1f2c8" or "my-sitespanel-io-vm-123"). | String |
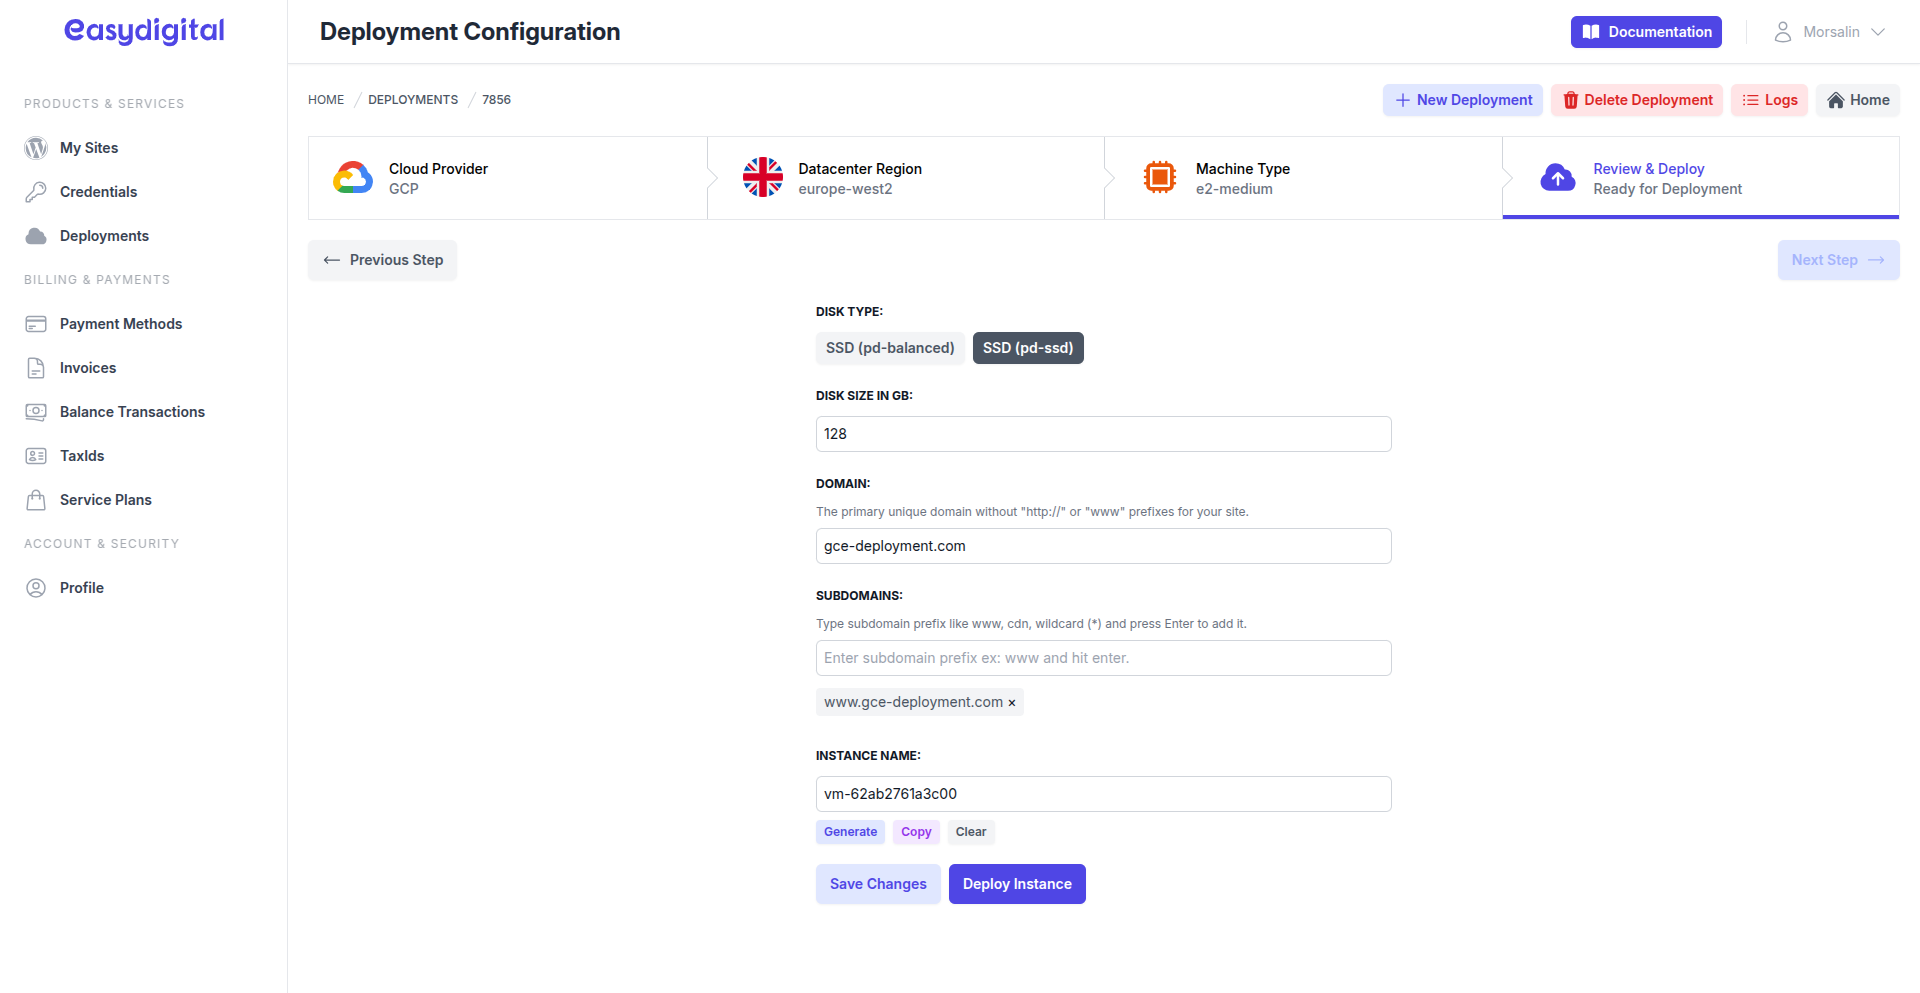
After completing the form, click Save Changes. The UI will update to display a Deploy Instance button.
 |
|---|
Deploying Your Instance
Click Deploy Instance to begin the deployment process. The deployment will start and set up a new GCE instance.
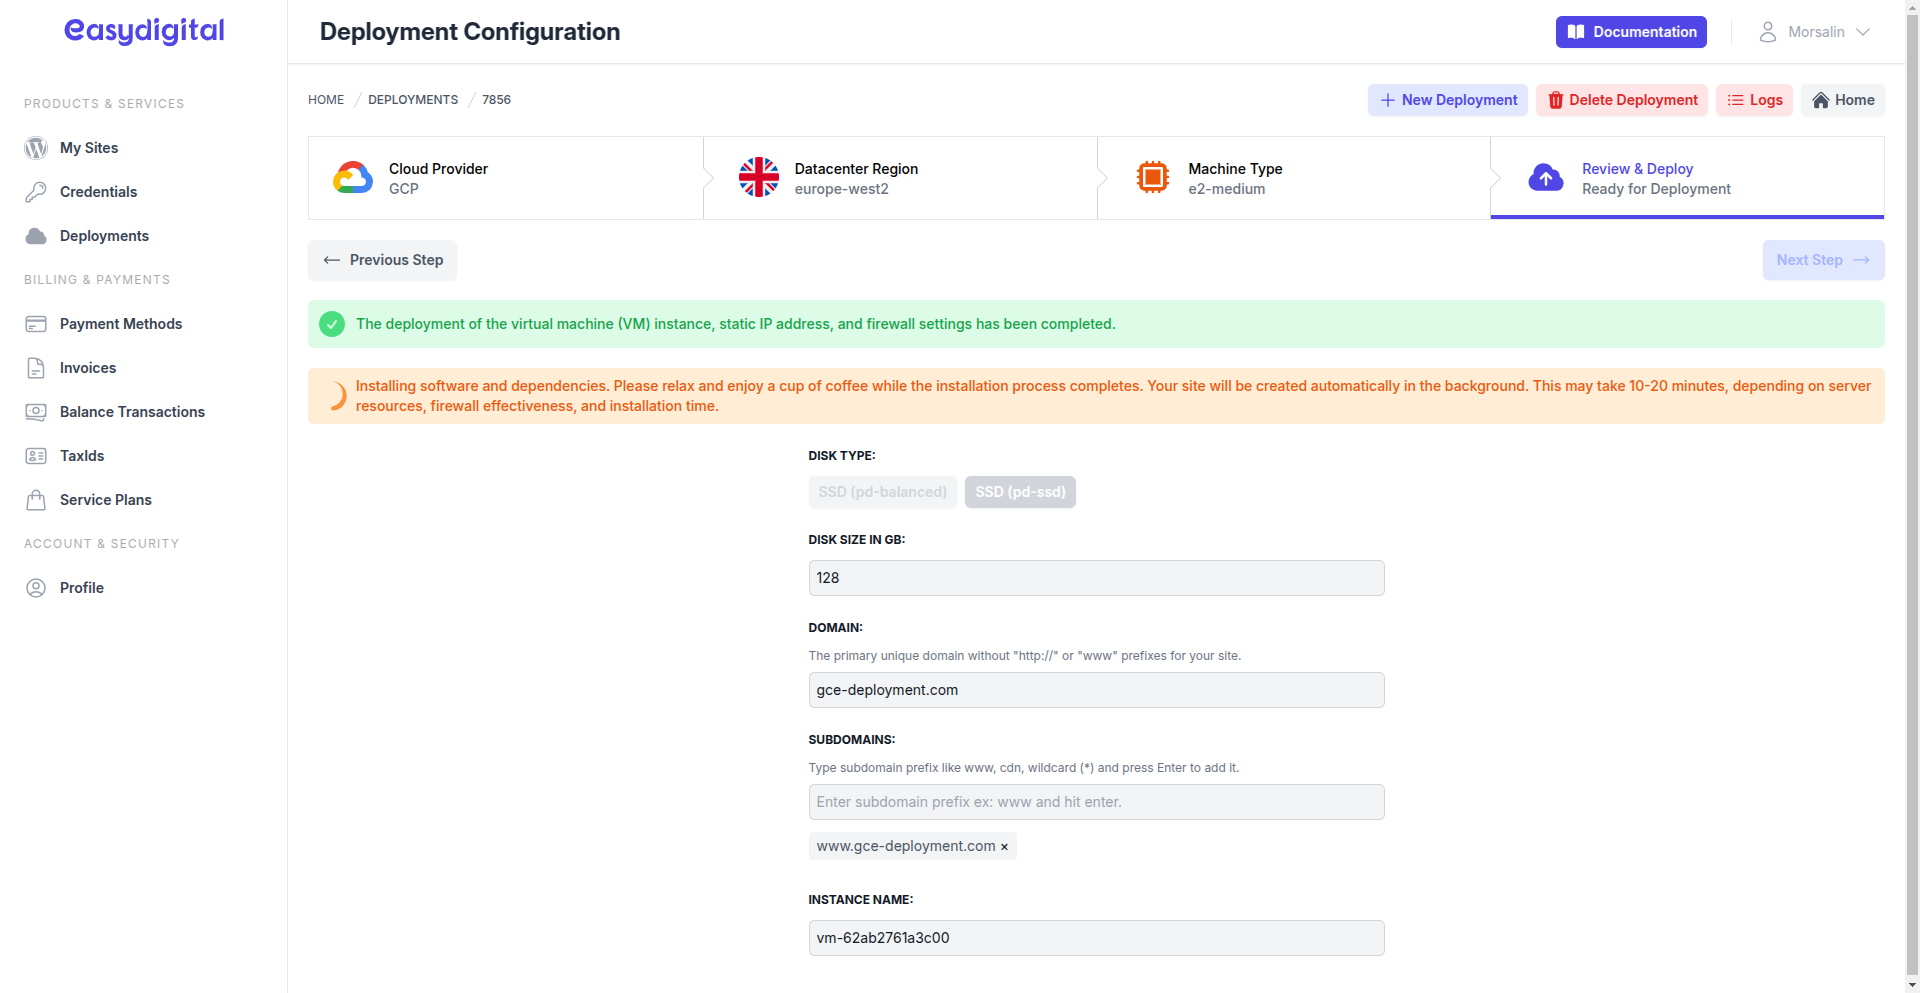
Monitor the progress. The installation of software and components will run automatically. This process typically takes 5–20 minutes, depending on system resources and firewall effective time.
 |
|---|
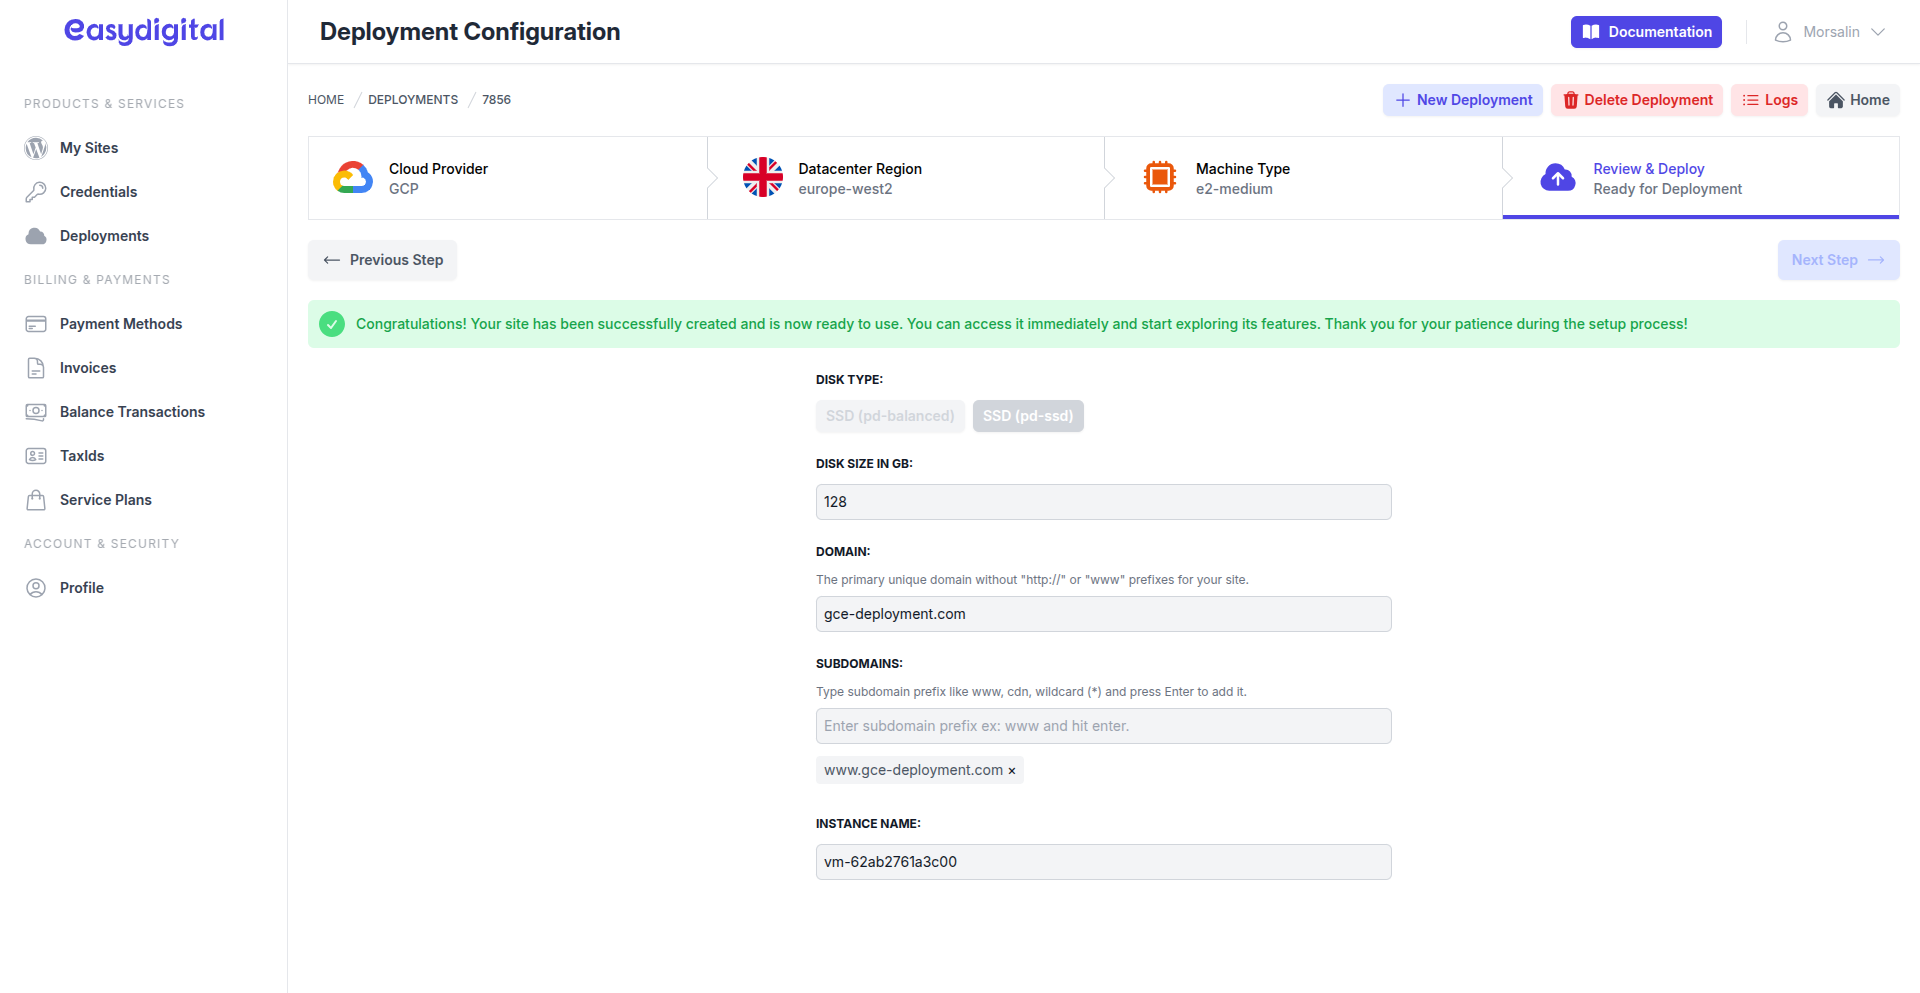
Upon successful installation and connected, a new site is created, and you’ll see an updated page.
 |
|---|
Next Steps
Navigate to the Sites Page to start managing your new site.
If you encounter any issues during or after deployment, feel free to reach out via live chat for assistance.